The good news? We have made creating your own DIY exploding box super easy with step-by-step instructions, ideas, and even templates! Don’t spend a dime and instead use our FREE printable exploding box template to make your own picture box! We PROMISE it is easier than it looks, and the receiver will LOVE it!
DIY Exploding Box Step-By-Step Tutorial
Ready to make something meaningful, but also quick and easy? This DIY surprise box looks complicated, but it is easy as can be! With our free templates, and the fact that you don’t even have to buy fancy paper or measure anything, you’ll have an adorable explosion box in no time! Just print, cut, glue, and personalize! We have made it super easy for you to make these exploding cards! You’re welcome! 😉 By the way, this explosion box gift idea is so easy to whip up, you’ll be glad you saved the money and made it by hand. Certainly, there are many options for buying an exploding box, but why waste the money when handmade gifts are more personalized and more special?
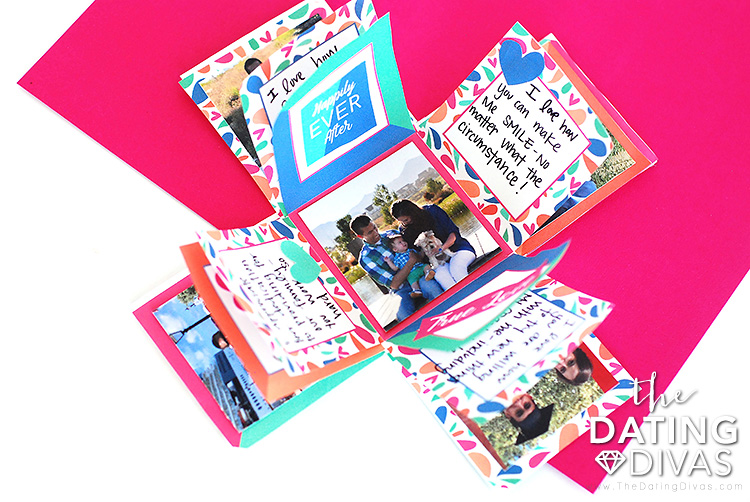
The explosion box is packed with all of your love and memories! Let’s make one!
Exploding Picture Box Supplies
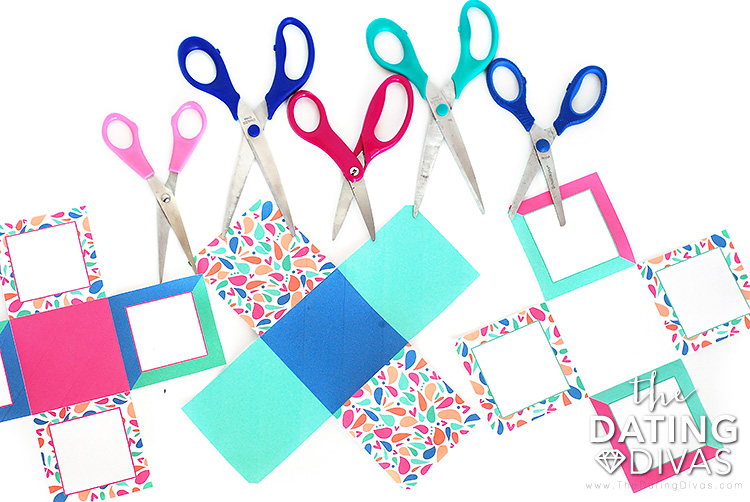
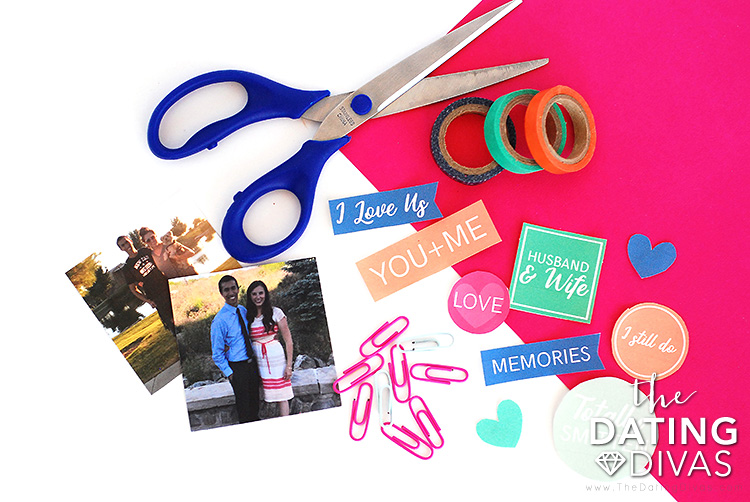
When making your own box card, you will need to grab the following supplies:
PDF for explosion box printable template (free download at the bottom of this post!) OR 4 12X12 sheets of card stockScissorsAdhesive: wet glue or double-sided tape4 paperclips (optional)Anything else that you want to decorate the box with. Pictures, colored paper, favorite quotes, stickers, etc.
How to Make an Exploding Picture Box
Exploding cards are cheap, cute, clever, and much more meaningful than a regular card. In a single box card, you have created a meaningful gift that can be kept forever! So, let’s get to it! Here’s exactly how to make an explosion box.
Step 1: Print the Templates
Download and print the free PDF printables from the link at the bottom of this page. Your explosion box templates will include three slightly different sized layers, a lid, and an outside layer. All of these pages are pre-measured and labeled so all you need to do is print and cut them out.
Step 2: Fold Your Explosion Box
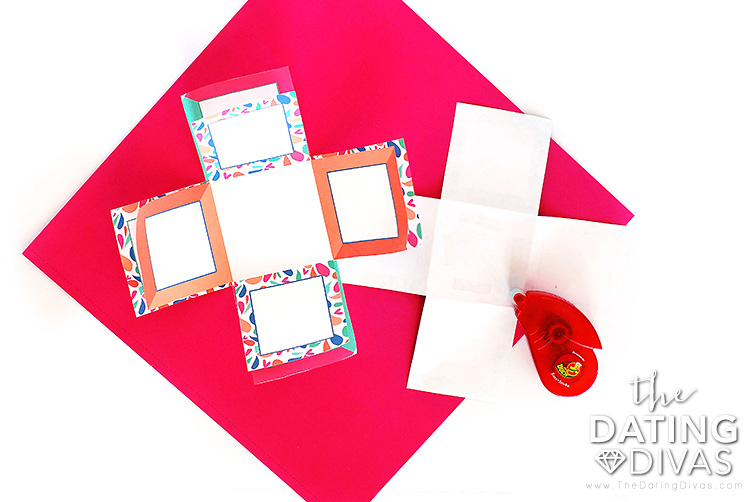
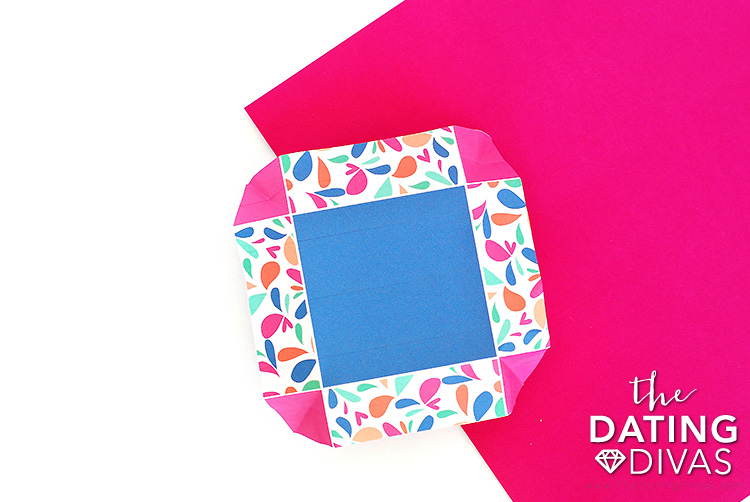
Carefully fold each of the square edges of the box card template. We made it super easy for you to see where to fold by changing up the color for each square. You can use a ruler to make your lines crisp and straight. Keeping everything as straight as possible will be very important in this project.
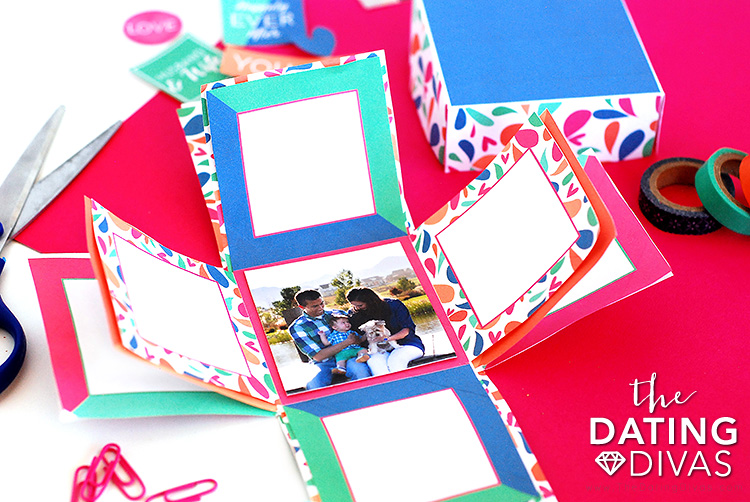
Step 3: Glue the Layers Together
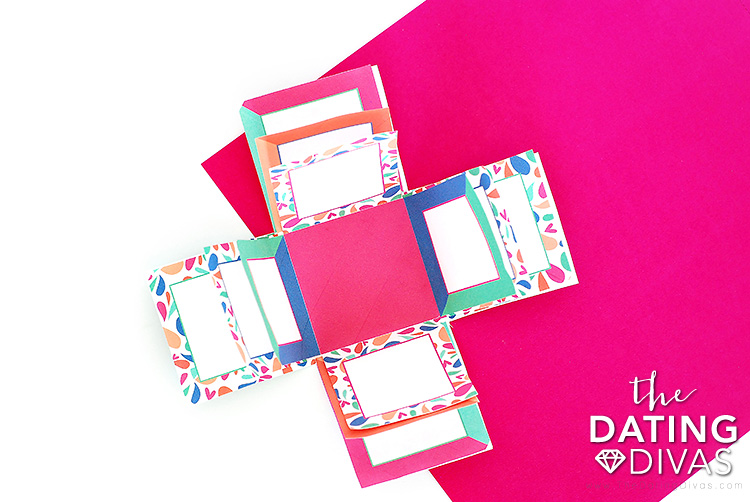
Now, you need to put all of your layer pieces together. Start with layer 3 on the very bottom and position layer 2 so that it is nestled on top of layer 3. Use adhesive to glue the backside of the center white square of layer 2 to the front side of the center white square of layer 3. Do the same steps to attach layer 1 to layer 2. Make sure that they are centered nicely and fold the sides in again.
Step 4: Assemble the Outer Shell of the Box
In order to have your explosion gift box be colorful on the outside as well as the inside, we have one more layer for you. Apply adhesive to the entire backside of the outside layer and carefully press the outside layer onto the backside of the most bottom layer of your box (layer 3). This will give layer 3 a two-sided look and give your box a fun pattern (even when it is closed.) ***Important note: If you are using your own paper and it has color on both sides, you can skip this step.
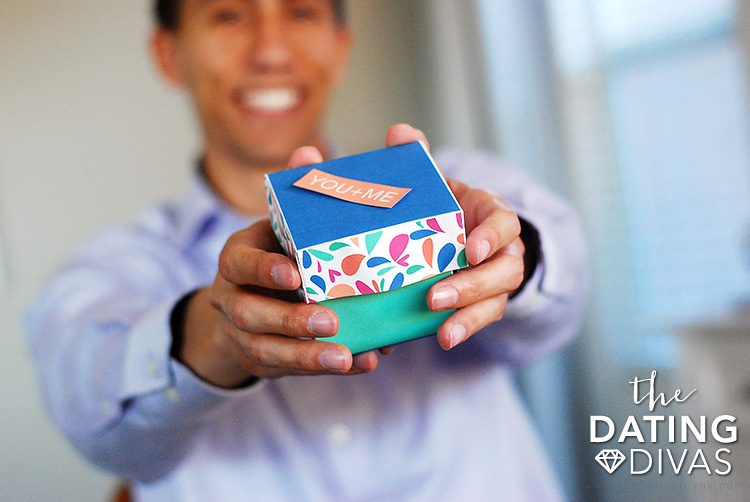
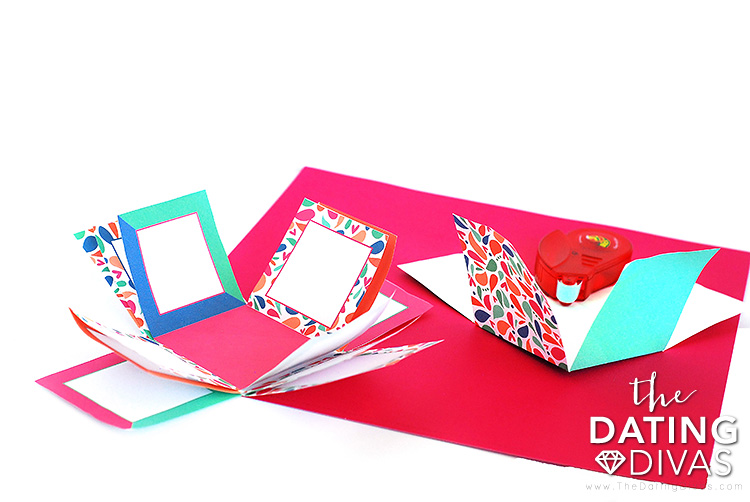
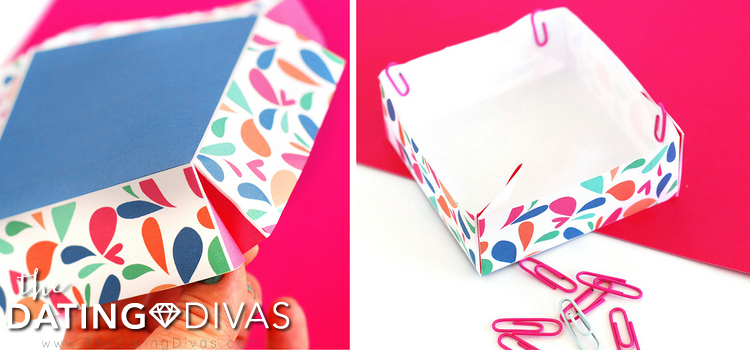
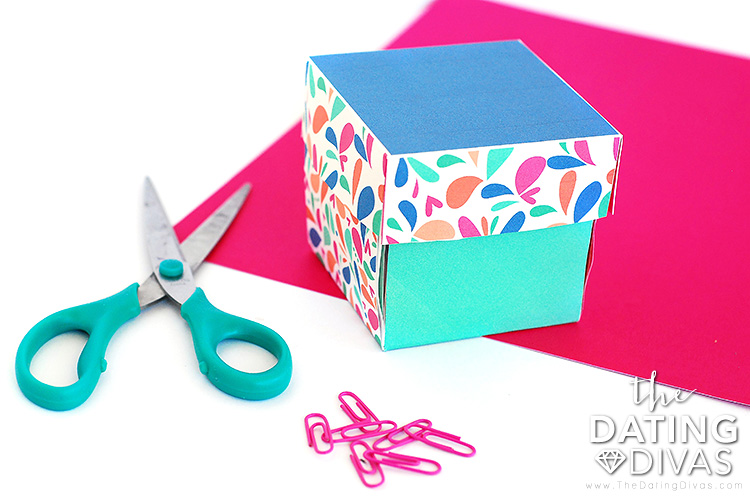
Step 5: Make Your Explosion Gift Box Lid
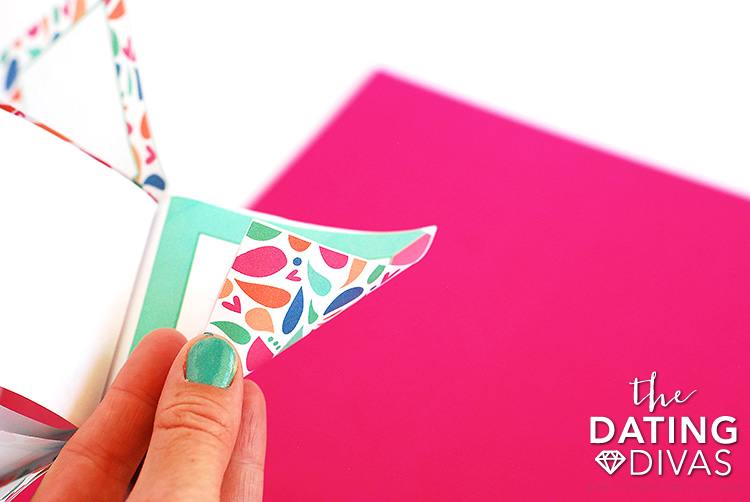
Finally, you will want to make the lid to be able to close your box. Go ahead and fold along all of the lines distinguished by a new color/pattern. Then, apply adhesive to each of the pink squares. Now for the trickiest part of all. Take a pink corner square and pinch it so that the patterned sides come together and the adhesive presses the two pink sides together. This will convert the pink square into a small triangle on the inside of the box. Secure with a paper clip until the adhesive dries and repeat with the three remaining pink corner squares. Now, fold the sides of your exploding box toward the center and place your lid on top to hold it all in. When that lid is removed it should all explode out!
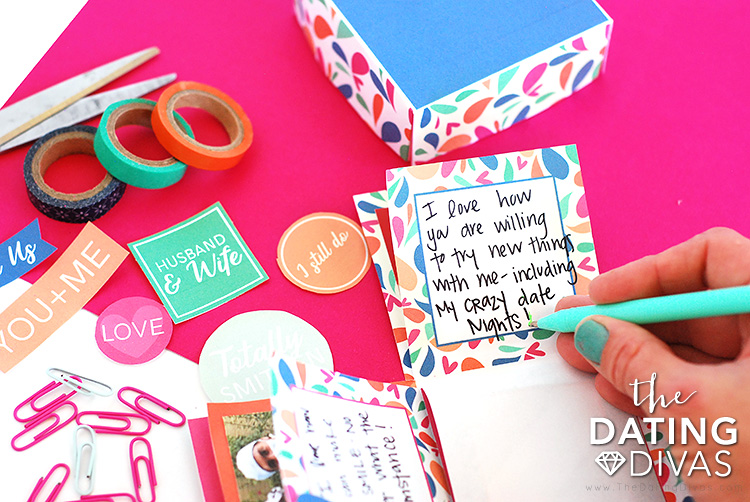
Step 6: Personalize Your Explosion Box
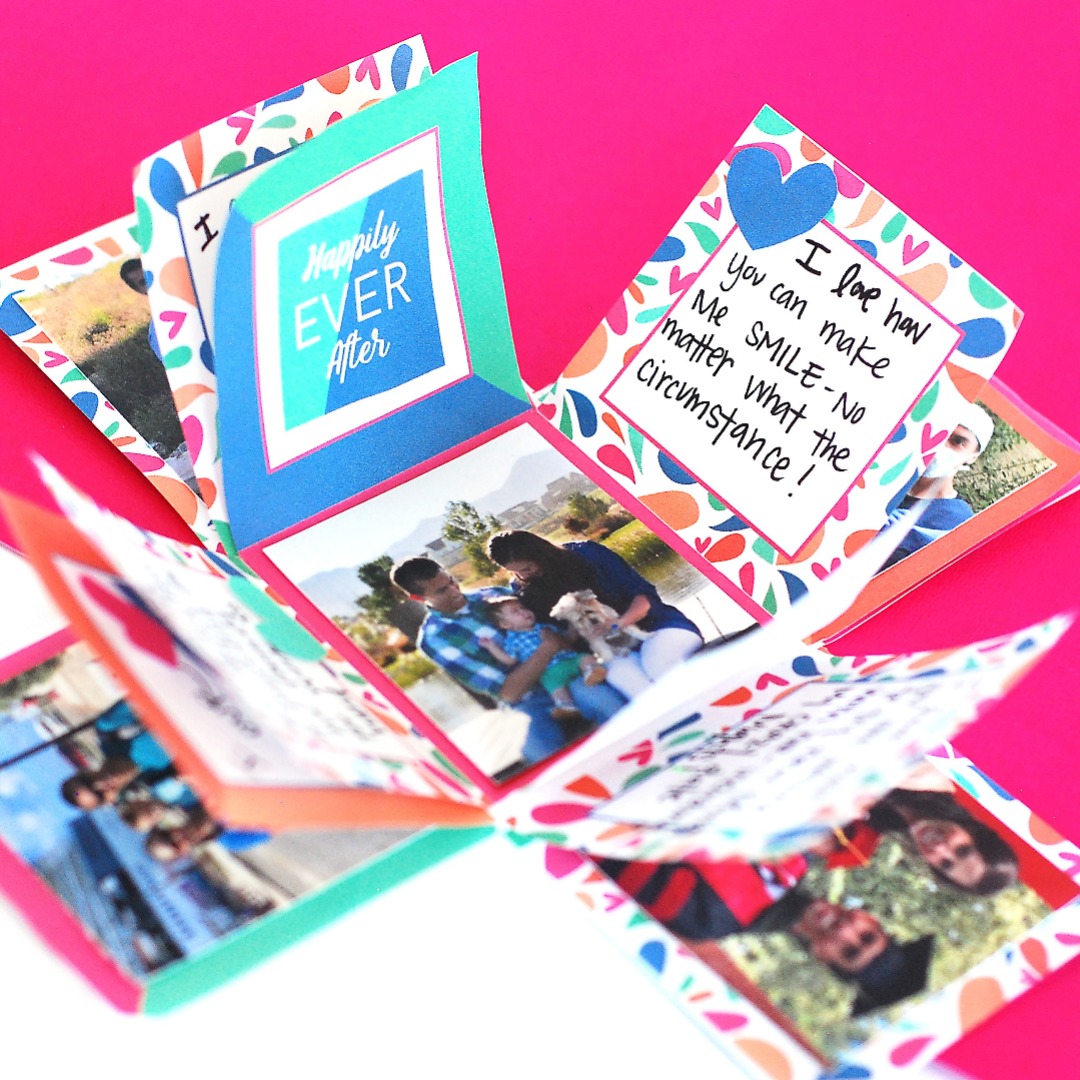
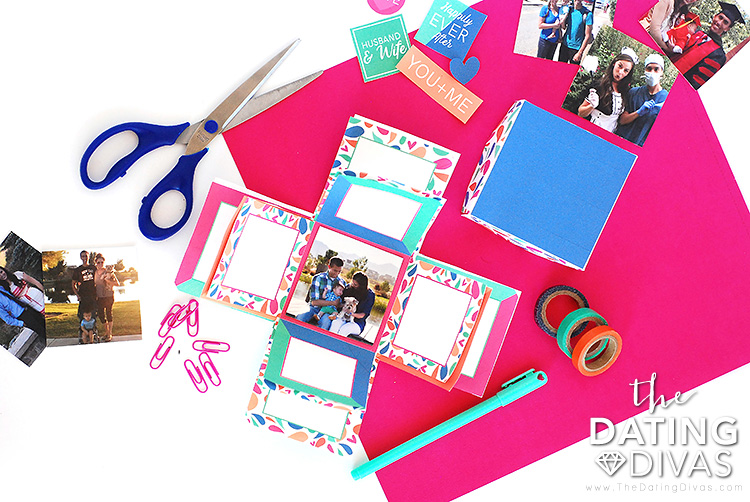
Now it is time to personalize your explosion box card! This is what I love most about this card. This isn’t a card from the store that has one distinct place to write a message. This unique love note has twenty different flaps that you can customize with special pictures, mementos, or personal messages from you – whatever YOU want to make it special. To really give your project that extra special touch, we have created several interactive elements and printable decorations for you that you can add to the flaps of your love note. The sweet phrases and images are easy to add and will give your DIY surprise gift box a finished, cohesive look (printable linked below!)
Extra Exploding Gift Box Ideas
I just love the uniqueness of this gift / card, but also all of the options. The possibilities for what you could do with this box are endless! You could make an explosion box card for just about any special occasion: birthday, anniversary, Valentine’s Day—you name it! You could even do this “just because” as a way to say “I love you.” For the record, the possibilities are endless for what you can add to the sides of your explosion box. The first exploding box card that I ever made, I wrote something I loved about my spouse on about half of the flaps and the other flaps I placed pictures of us together. This time, I tried to write things I love about him as well as favorite memories that we have shared together (to coordinate with the pictures!). We hope you enjoyed making your DIY explosion box! See, it wasn’t so bad, was it? 🙂 Now that you have made your own explosion box, let’s find you more great ideas. If you are on the hunt for more simple, creative ideas for showing someone love, check out our:
Candy Bar BouquetRomantic Crossword PuzzlesReason I Love You JarPersonalized Love StoryMake Your Own Love CouponsHow to Fold a Dollar into a HeartCute Candy SayingsLove Letter to My HusbandGift IdeasEasy Romance Ideas